Planck 6502, an open hardware extensible retro computer
Retro computing
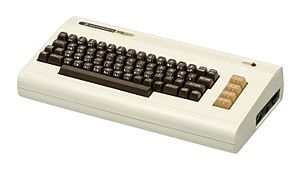
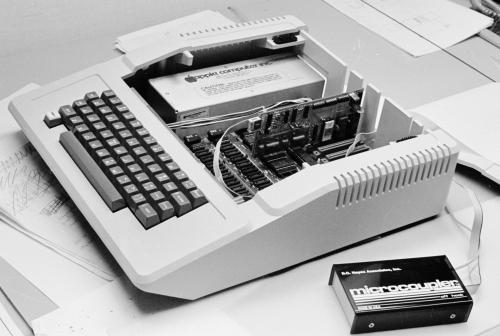
Going back to the roots of your field can provide new insights into your day to day experience. For me, the roots are located in the 70s / 80s a time when personal computers were much simpler and could be fully understood by a regular person. This is a time when the most popular computers were the Vic20, Apple II and later Commodore 64.
These computers booted in less than a second to a raw basic prompt. To be clear: you turn on your computer, and less than one second later you start programming. How wonderful would that be, in our land of a thousand node dependencies, failing composer upgrades and wrong vagrant configurations?
What to build?
I was increasingly interested in electronics since doing a project for a friend, so I thought to myself “How hard can it be?” Well, as it turns out, quite, but that’s hardly the point right now. The point is: what should I build? I started by building a simple 6502 based computer on a breadboard. I soon realised that if I was to have anything half useful I was going to need the entire breadboard production of China to be delivered to my house. Also breadboard computers are buggy and you can’t move them around because then a cable will come loose and you will spend five hours troubleshooting your code instead.
So I decided I would convert it to PCBs. They are pretty cheap to get delivered from China, but since they take about a month to arrive the rate of iteration is not so great. Better to get it right the first time obviously.
Well I almost did. The first one was very simple, only having a 6502 processor and an 6522 parallel port interface. I interfaced with it from my computer via SPI through an arduino: the 6522 Versatile Interface Adapter can bit bang SPI easily enough. The Arduino Uno/Nano can be an SPI slave easily enough and receive that data. It can then transmit that data to my computer using serial over USB.
That worked fine (after a couple of bodge wires) but was a bit kludgy, having the Arduino sort of hanging there by a few cables.
I then tried to design a single board computer with everything I would ever want on it: serial communication, parrallel port, SPI port(s), i2c port(s), PS/2 port for a keyboard, sound chip, VGA output, etc… The board to house all of this was very big and thus very expensive. Combining this with the previous point regarding getting it right the first time, a single board computer suddenly seemed like not that great of an idea.
The plan
I then decided to build a board with basic circuitry into which other boards that provided actual functionality will be able to plug in. Turns out that already exists and is called a backplane
So backplane it is then. The size limit for this board and all others will be 10cm x 10cm as that it the cheap price limit for most cheap board houses (yes I’m cheap and I like cheap, preferably cheap that works).
Here is the backplane design:
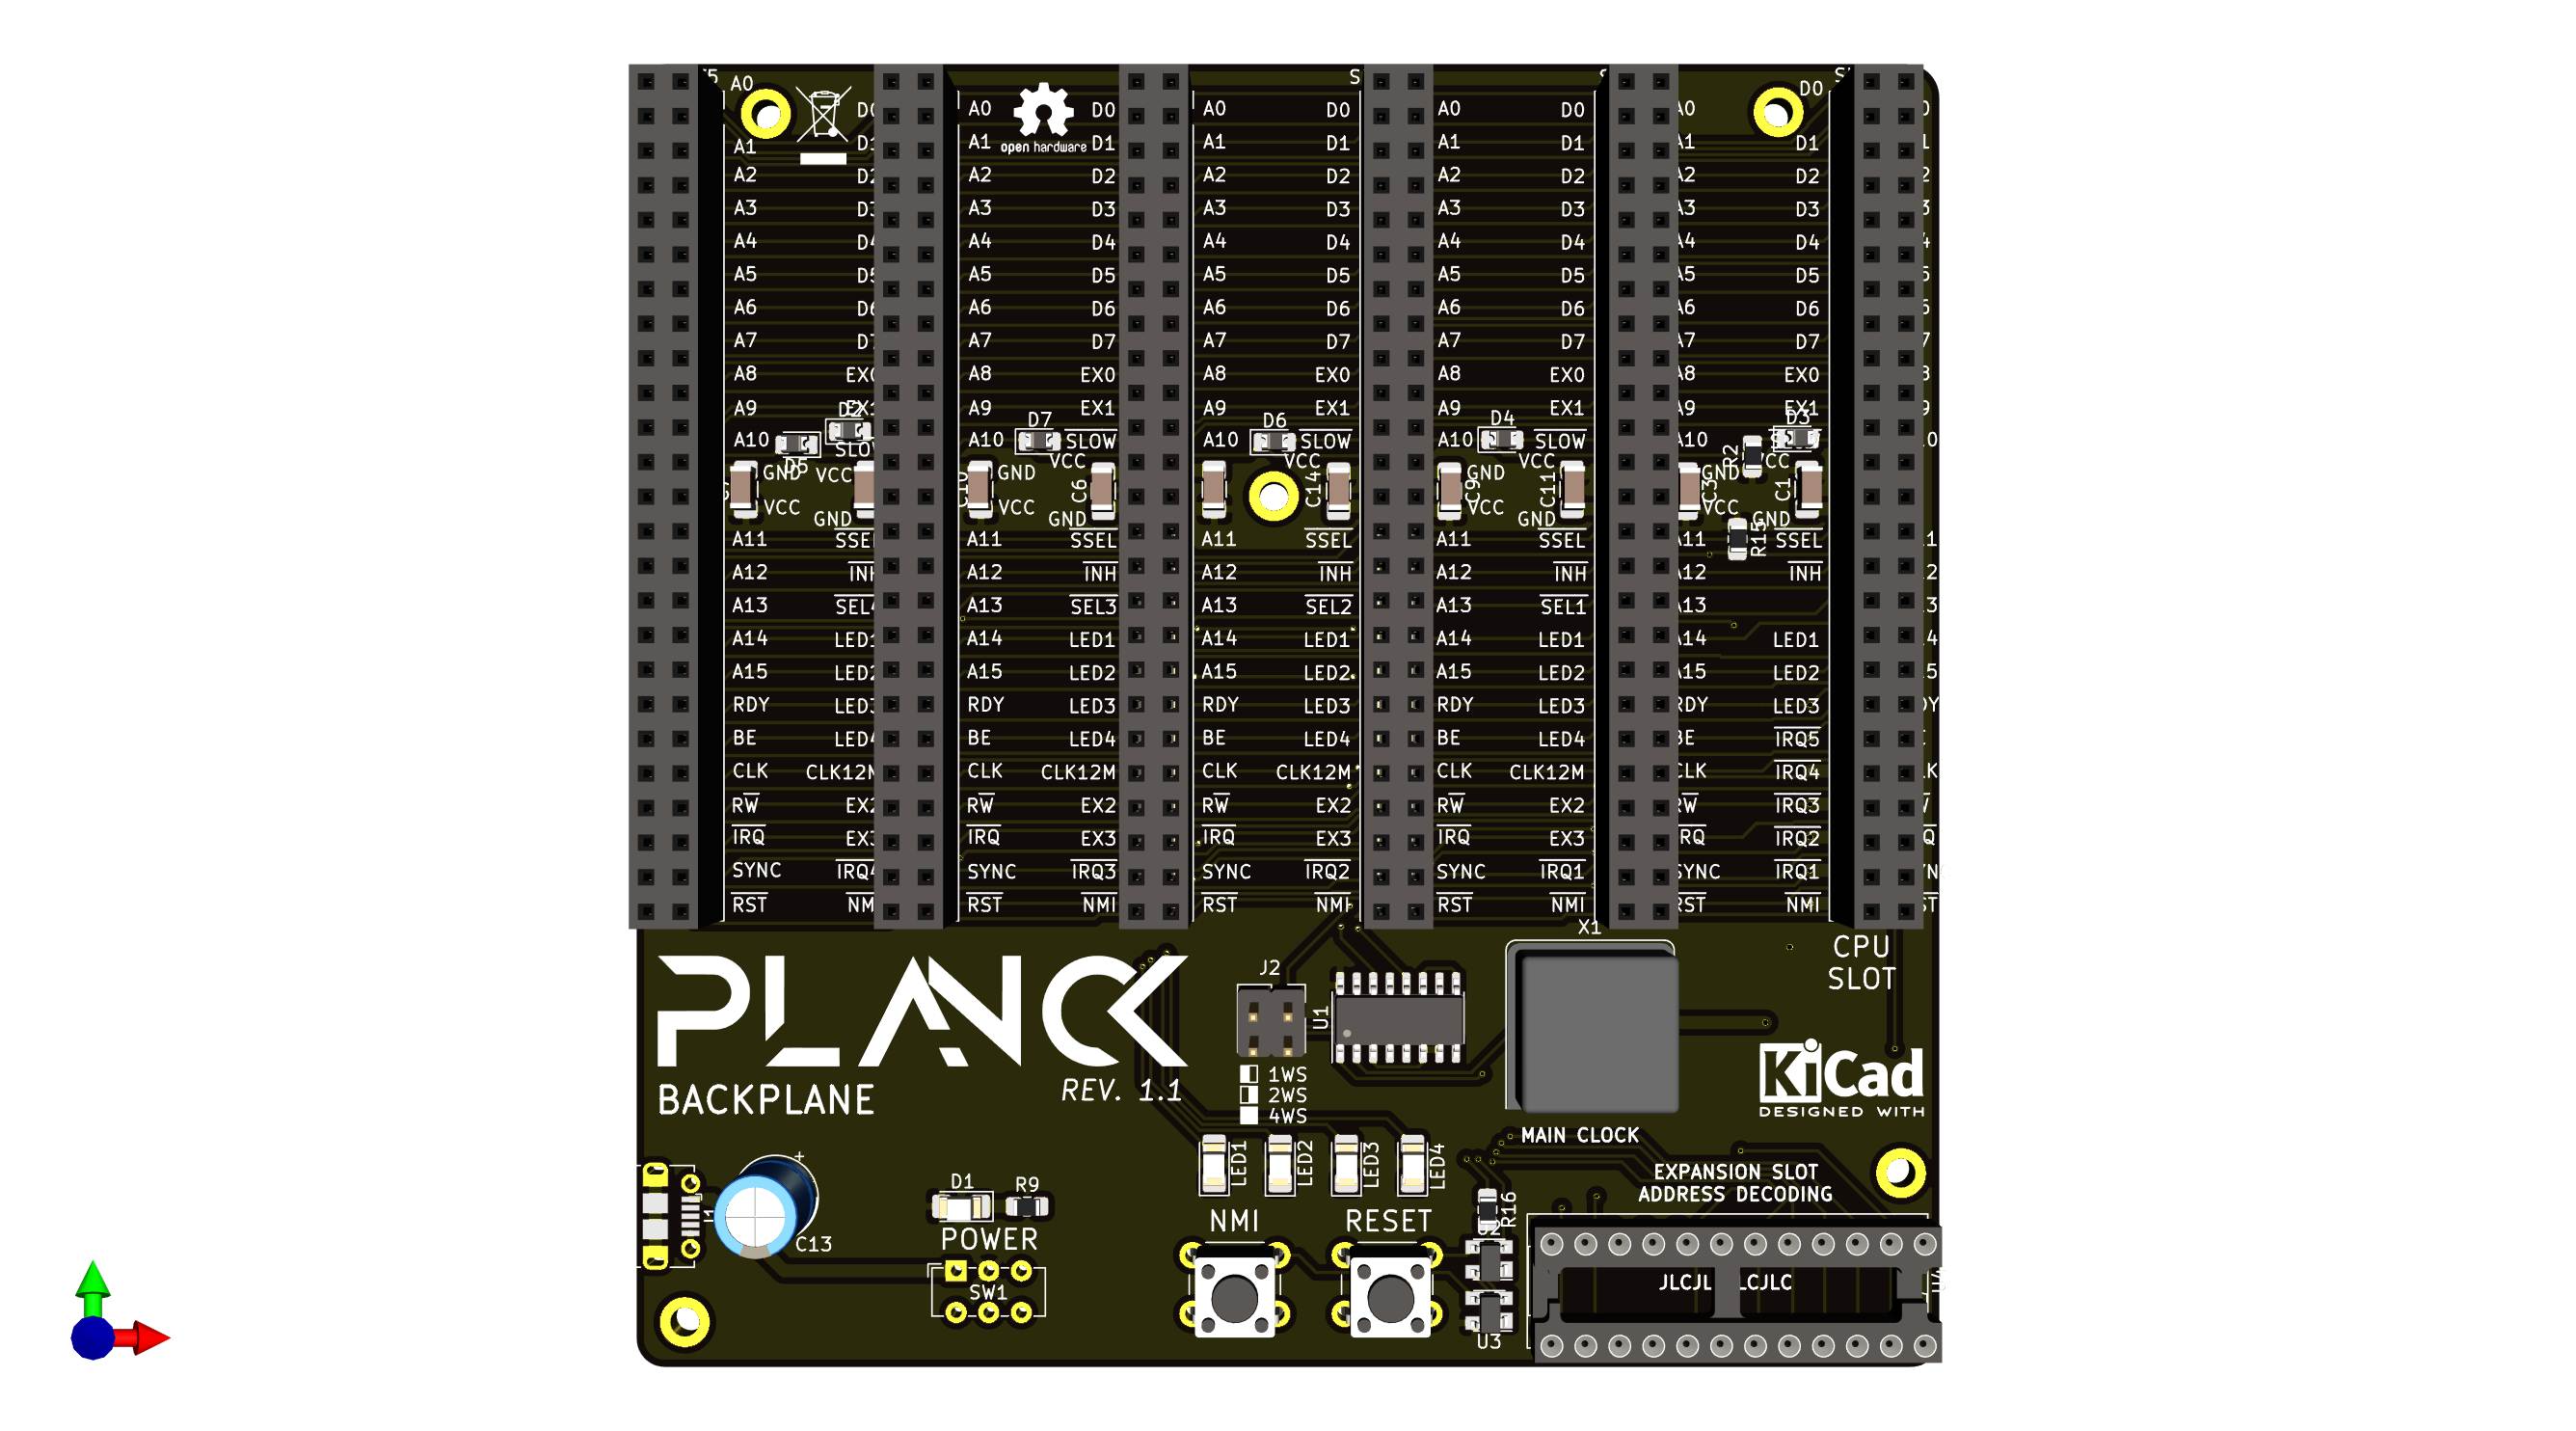
As you can see, it is mostly just slots to plug in the extension boards. The only active components are the clock generation circuit, and some decoding to activate the expansion slots when they are needed.
The rightmost slot is reserved for the CPU card. The CPU card includes some RAM and ROM, which means the computer is already functional with just this single board plugged in, although admittedly it won’t do much in that configuration.
To get the computer to do stuff it’s best to plug in some additional boards.
The initial design includes an IO board with PS/2 port, SPI ports and a parallel port (and LEDs, of course it has LEDs!) as well as a serial board to allow the user to communicate with the computer.
After waiting patiently forever for the boards to arrive, I put it all together and gave it a try. It did not work at all. Of course there were mistakes on the boards, which confirmed the soudness of my choice of not doing one huge board at once. However not all the boards were defective, and the bad ones were quickly fixed with a few wires here and there.
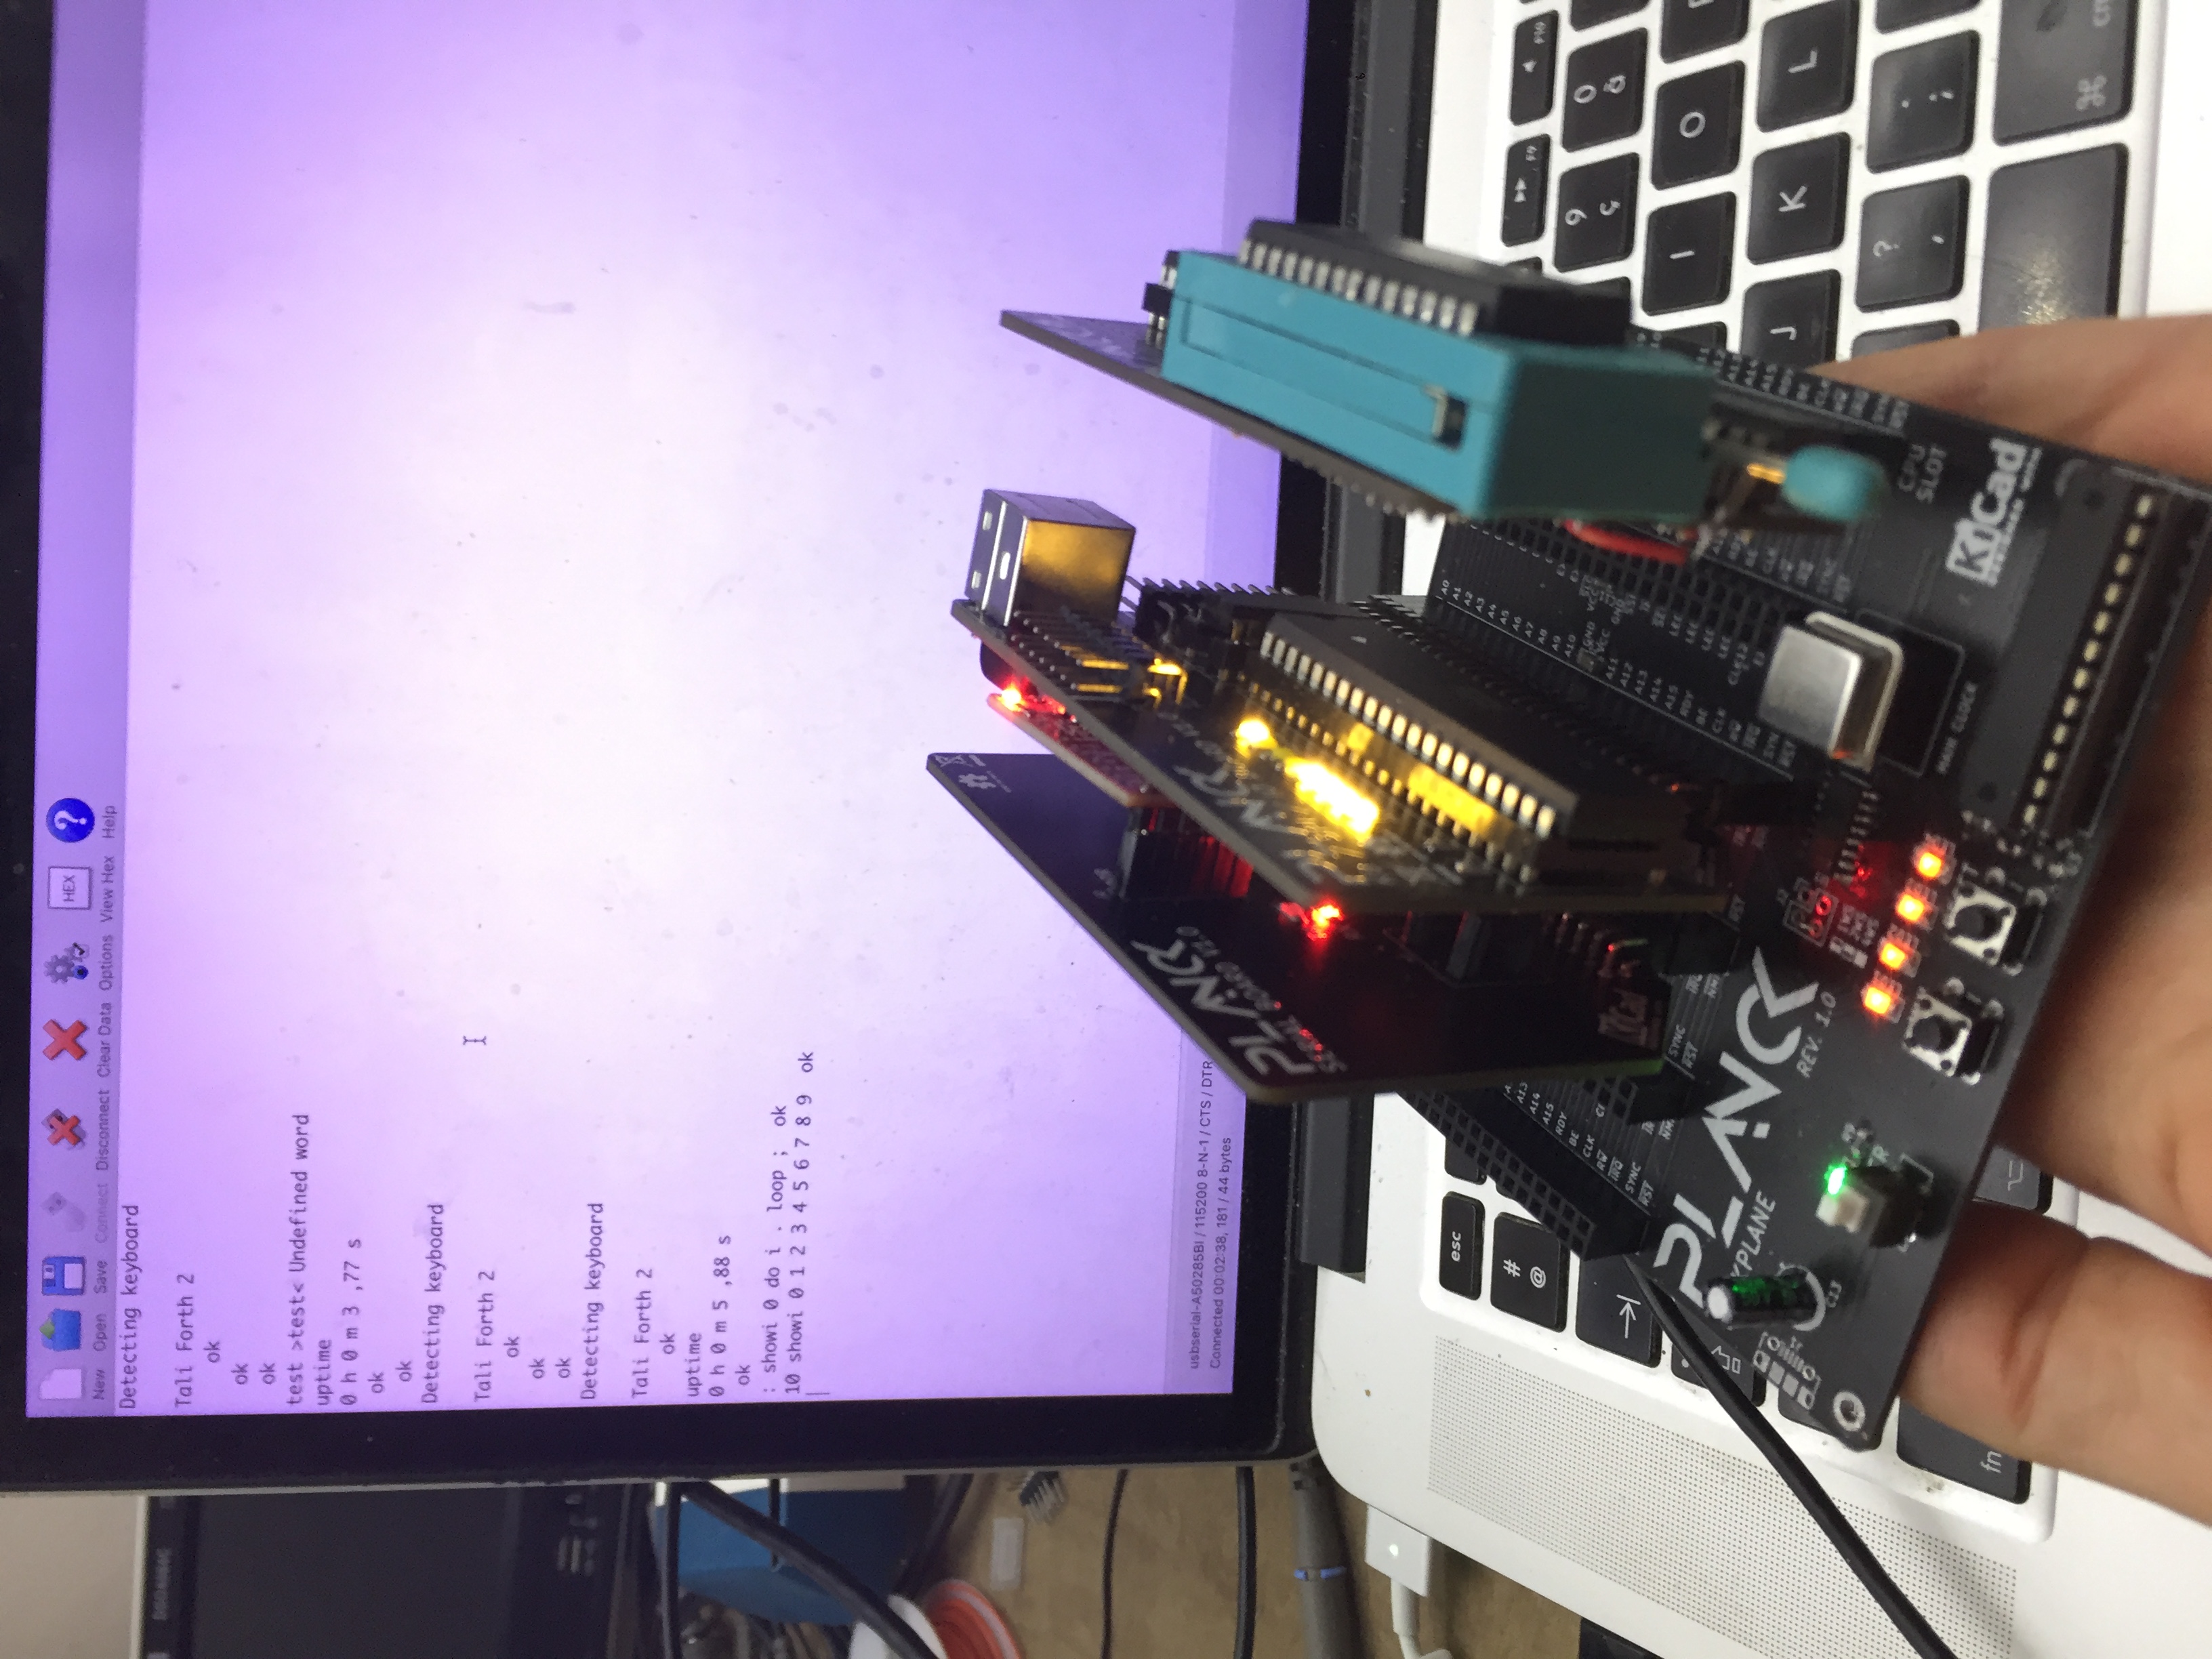
After which, plugging a usb to serial adapter into the serial board, and into a usb port on my computer, I could see the Planck computer doing something!
Here it is running Forth over serial
I am currently working on more expansion boards, such as an LCD board, a sound card, and a VGA card. Stay tuned for more.
For more details about this project, please use the links below: